
MTB Trail Riding 101: Conquering the Bike Park Like a Pro
I still remember my first time hitting a real MTB trail at a bike park. I had no idea what I was doing, but I knew one thing—I was hooked. If you’re reading this, you’re probably about to embark on your own MTB adventure, and let me tell you, it’s going to be an absolute blast. This guide will break down everything you need to know to ride with confidence, tackle obstacles like a pro, and make the most of every ride.
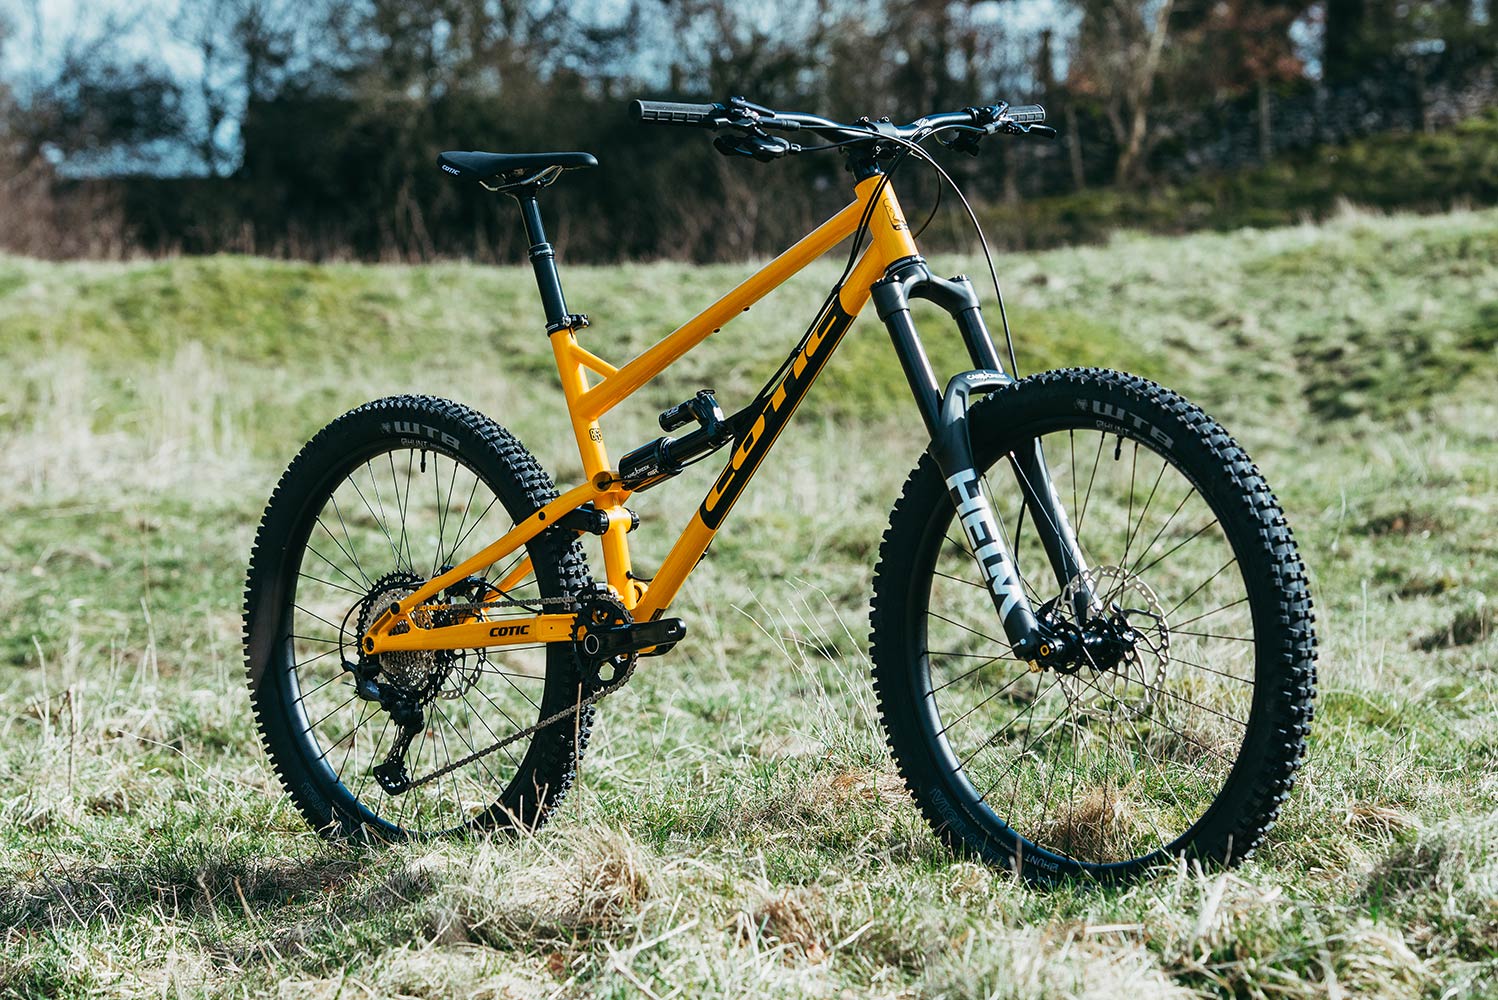
Choosing the Right Bike for the Trail
Before you even think about sending it off a mountain bike jump, you’ve got to have the right ride. The type of bike you choose can make or break your experience. The right mountain bike will not only make your ride smoother and more enjoyable but also help you progress faster and ride safely.
Hardtail vs. Full Suspension:
Which is Best for Beginners?
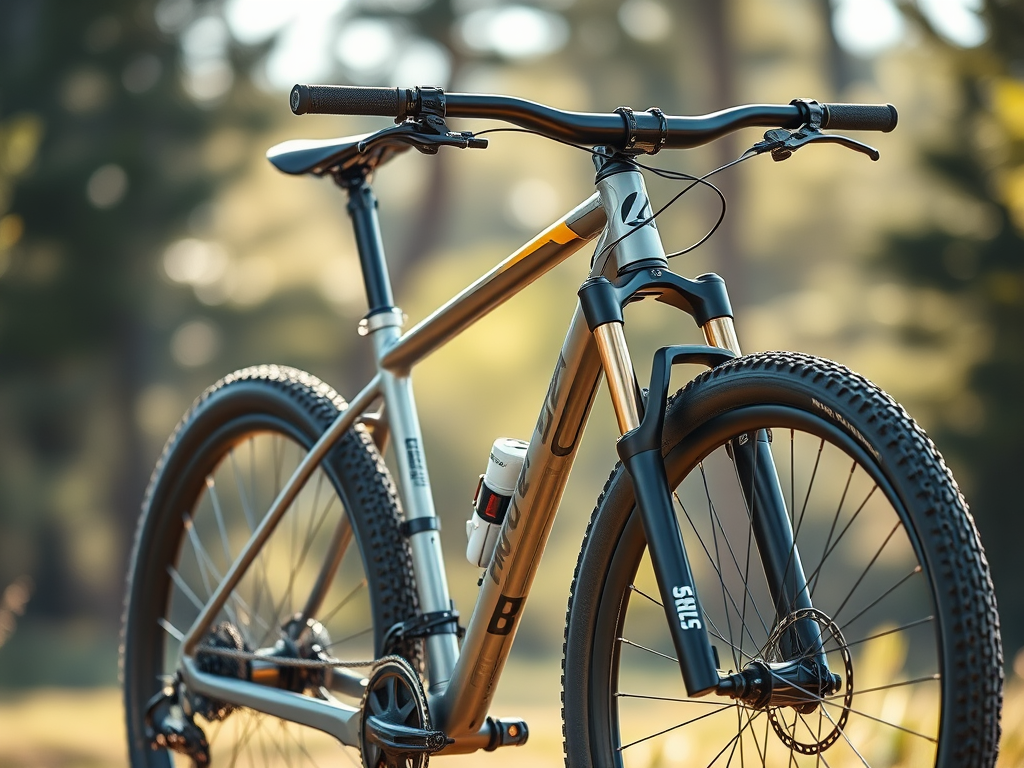
Hardtail (Front Suspension Only): Hardtails are lightweight, efficient, and great for learning bike handling skills. They’re best for smoother trails, cross-country riding, and those on a budget. Hardtails force you to use your legs as extra suspension, which can help you develop solid fundamental riding techniques.
Full Suspension (Front and Rear Suspension): Full-suspension bikes provide more comfort and control, especially on rough and technical terrain. They absorb more impact, reducing fatigue and increasing confidence when riding downhill or over rock gardens.

Beginner-Friendly Hardtail Models:
- Trek Marlin 7 – Affordable, versatile, and trail-ready.
- Specialized Rockhopper Elite – A solid entry-level XC bike.
- Giant Talon 1 – A well-balanced hardtail with a quality build.
- Cannondale Trail 8 – A great starter bike with a comfortable geometry.
- Norco Storm 2 – Responsive handling and reliable components.
Beginner-Friendly Full-Suspension Models:
- Trek Fuel EX 5 – A great all-rounder for trail riding.
- Giant Stance 29 – Budget-friendly full suspension for flow trails.
- Marin Rift Zone 1 – Playful, responsive, and fun to ride.
- Specialized Stumpjumper Alloy – A solid trail bike with great performance.
- YT Jeffsy Core 2 – A well-priced full-suspension bike with aggressive geometry.
Understanding the DH Bike and When to Use It
DH (downhill) bikes are built for steep descents, big jumps, and rugged terrain. If you’re heading to a bike park MTB trail with lift access, this is the bike for you.
Popular DH Bike Models:
Santa Cruz V10 – A race-ready, high-performance downhill machine.
Commencal Supreme DH – A favorite for bike park shredding.
Trek Session 9 – Fast and aggressive for big drops and rough terrain.
MTB Tune Basics: Pre-Ride Checks and Adjustments
Before dropping in, always check:
- Tire pressure (too low and you’ll pinch flat, too high and you’ll lose traction)
- Brakes (make sure they bite properly)
- Suspension settings (adjust for your weight and riding style)
- Chain lubrication (a dry chain can lead to skipping and poor shifting)
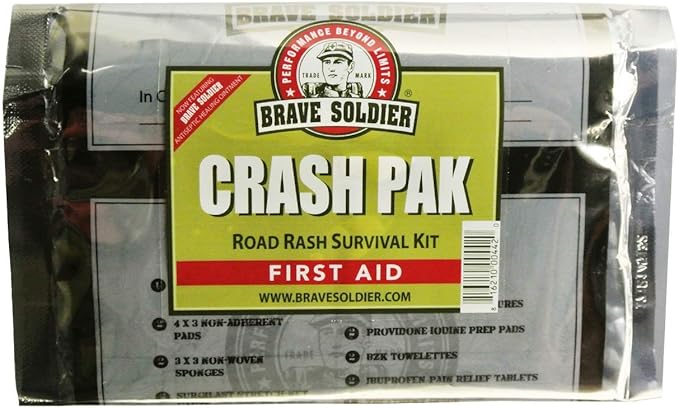
Essential MTB Gear and Safety Equipment
A proper setup isn’t just about the bike—it’s about protecting yourself too. Here’s what I always bring:
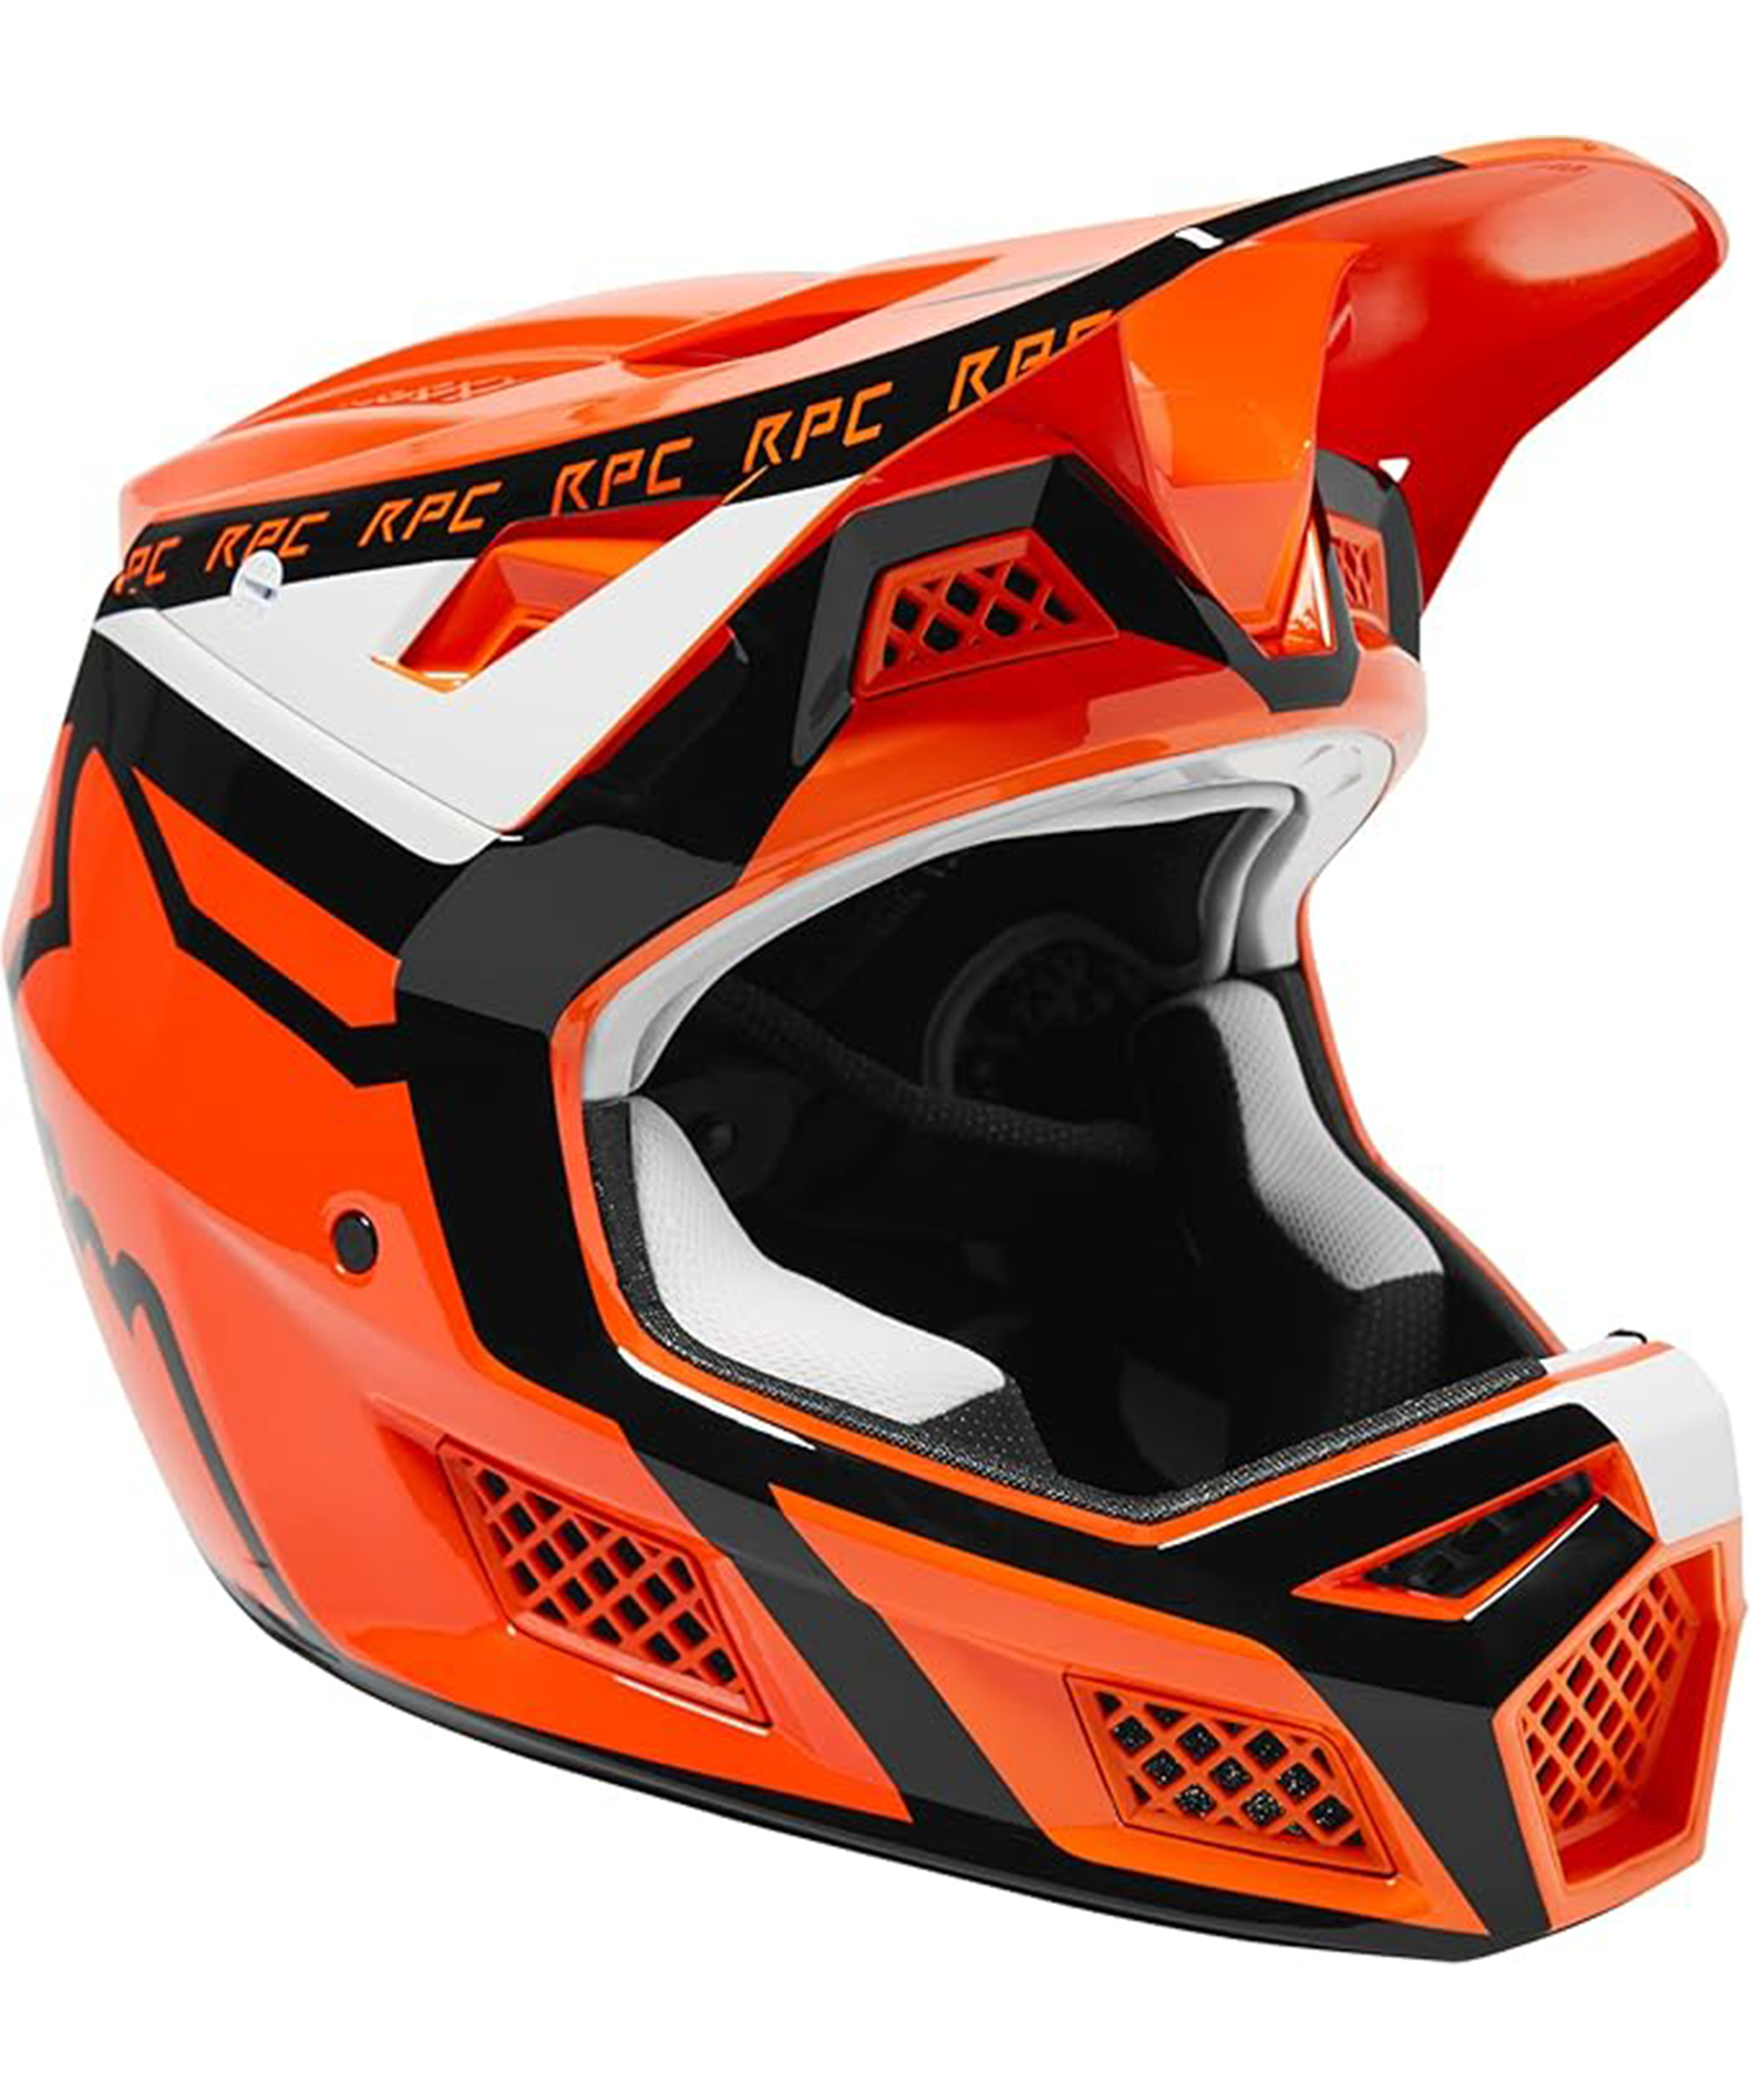
- Helmet (a full-face helmet for DH, or a standard MTB helmet for trail riding)
- Knee and elbow pads (trust me, you’ll be grateful for these)
- Gloves (better grip and protection in a crash)
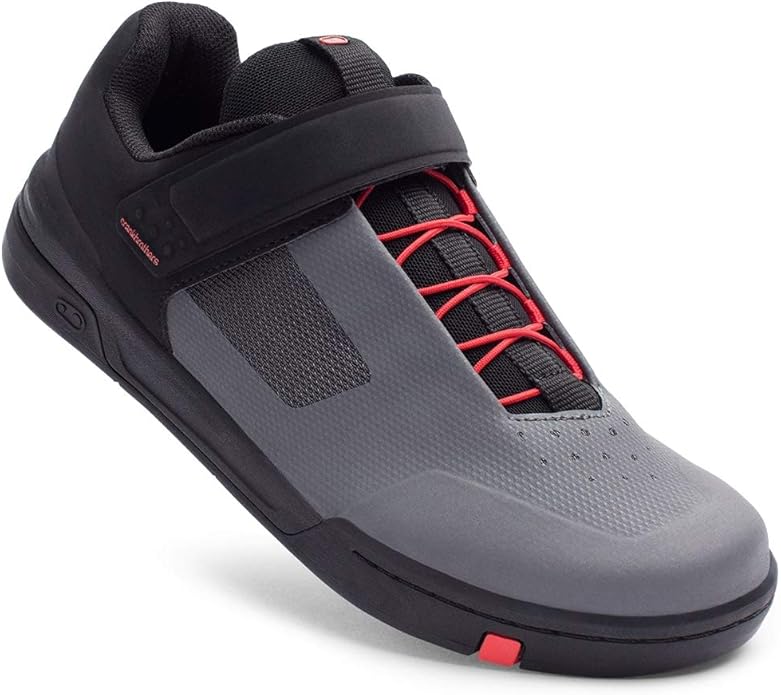
- Proper shoes (flat-soled MTB shoes help keep your feet on the pedals)
- Hydration pack or bottle (staying hydrated is crucial!)
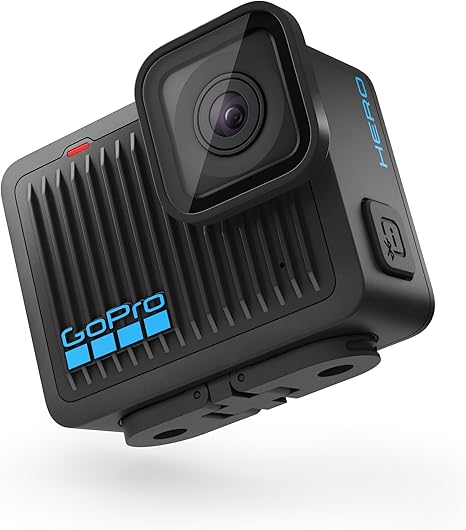
- Camera (GoPro if you have one) If will help you analyze yourself
Understanding MTB Trail Difficulty Levels
Mountain bike trails are color-coded to indicate difficulty:
- Green – Beginner-friendly, flowy trails with minimal obstacles.
- Blue – Intermediate trails with small drops, rocks, and more turns.
- Black – Advanced trails with steep sections, bigger drops, and technical features.
- Double Black – Only for expert riders. Think huge jumps, steep chutes, and gnarly rock gardens.
If you’re new, start on green trails and slowly work your way up as you build confidence and skill.
Mastering Body Position and Balance
Your body position is everything when it comes to riding smoothly and staying in control. I learned this the hard way after going over the bars on my first ride.
Attack position:
- Knees bent, heels slightly down
- Elbows out, chest low
- Look ahead, not at your front tire
Climbing position:
- Shift your weight forward to keep traction
- Use a steady cadence and smooth pedal strokes
Descending position:
- Shift your weight back slightly to avoid going over the bars
- Keep your arms and legs loose to absorb bumps
Conquering Obstacles on the Trail
Mountain bike trails are full of natural and man-made obstacles. Here’s how to tackle some of the most common ones:
- Rocks and Roots – Keep light on the pedals and let the bike roll over them.
- Drops – Start small, practice dropping off curbs, and progress to larger drops.
- Technical Climbs – Stay seated, choose a good line, and apply smooth pedal strokes.
- Rock Gardens – Keep momentum, pick a clean line, and stay loose.
- Log Overs – Learn to bunny hop or manual over logs.
- Switchbacks – Lean the bike, not your body, and look where you want to go.
- Rutted Trails – Let the bike follow the rut, don’t fight it.
- Off-Camber Sections – Stay centered and trust your tires.
- Mud and Loose Gravel – Keep your weight back and don’t slam the brakes.
Check out this video for some pointers
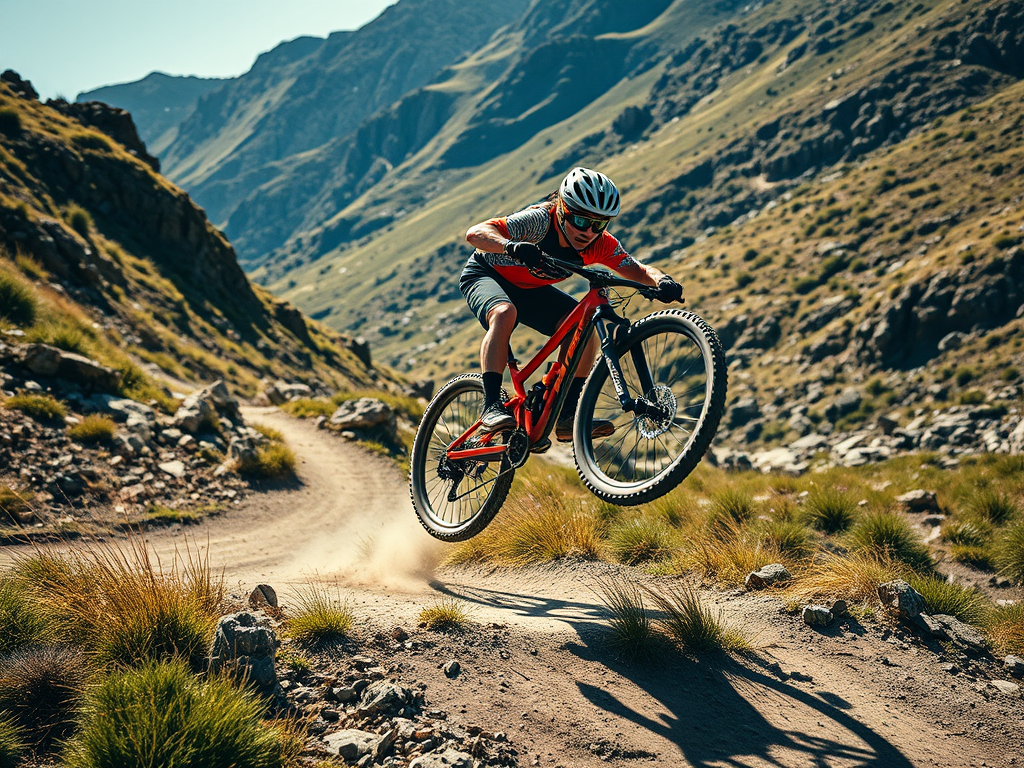
Hitting Your First Mountain Bike Jump
Jumping is one of the most exhilarating aspects of mountain biking, but it can also be one of the most intimidating for beginners. The first time I approached a jump, my heart was pounding, and my instincts were telling me to slam on the brakes. The key to overcoming that fear is understanding how jumps work and progressing at your own pace.
There are different types of jumps you’ll encounter on the trail:
- Tabletops – Great for beginners since they have a flat top, reducing the risk of crashing.
- Gap Jumps – These require more commitment as there’s a space between takeoff and landing.
- Step-Ups – A safer option for learning since the landing is higher than the takeoff, reducing the impact.
- Step-Downs – Found on more advanced trails, requiring precise speed control.
Before sending it, start small. Find a safe, progressive jump and practice:
- Approach: Stay balanced, keep a steady speed, and commit.
- Takeoff: Compress before the lip, extend smoothly, and avoid pulling too hard on the handlebars.
- Airborne: Stay relaxed, look forward, and keep your bike level.
- Landing: Absorb the impact with bent knees and elbows, aiming for a smooth transition.
Learning to jump takes patience, but once you get it right, it’s an incredible feeling. Start small, build confidence, and gradually work your way up to bigger jumps.
If you’ve made it this far, you’re well on your way to becoming a confident rider. MTB trail riding is all about progression—take your time, challenge yourself, and most importantly, have fun. The more you ride, the better you’ll get. Now go grab your bike, hit a bike park MTB trail, and enjoy the ride!

Leave a comment