How do you mountain bike safely at night?
Yes—night riding can be safe and stupid-fun if you pair a wide bar light with a lighter helmet light, match lumens to trail grade, give your group extra spacing, and manage batteries for the temperature. Start on familiar loops, dim on climbs, and avoid flashing rear lights on singletrack.
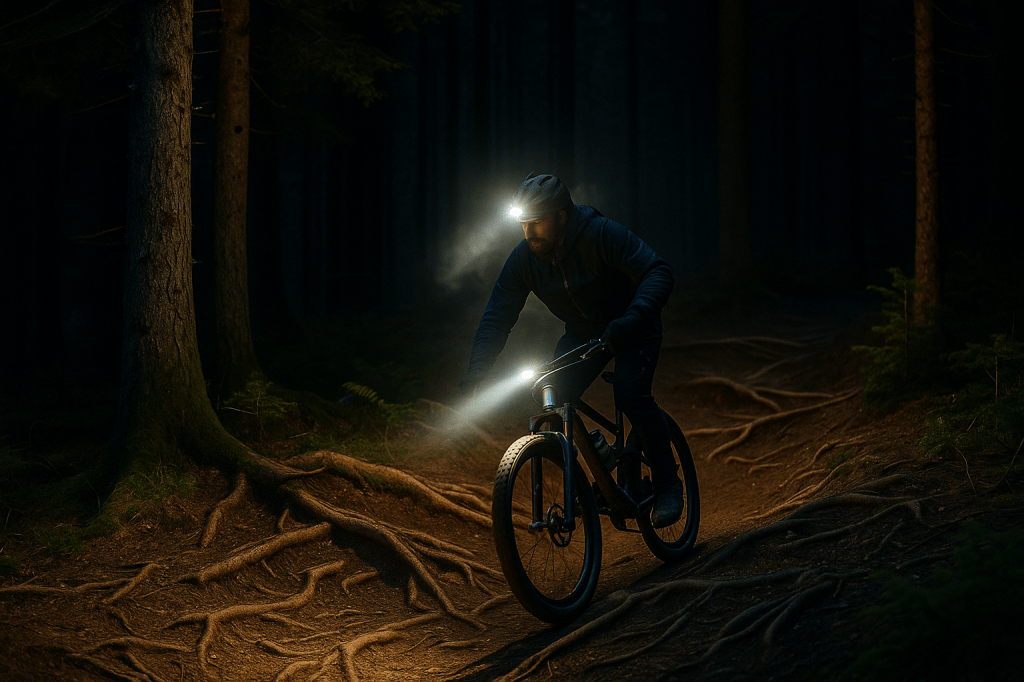
I’m a rider who hates cutting rides short when the sun taps out early. My first proper night lap was a lesson in humility: too-bright helmet light bouncing off fog, shadows from the rider ahead erasing the line I wanted, and a battery that nosedived in the cold. Since then I’ve dialed a system that just works—bar light for the big picture, helmet light for where my eyes want to go, and pacing that respects how different dirt reads after dark.
Here’s the mindset shift: daylight gives you a million visual cues; night gives you only what your beams paint. So we stack the odds. I run about 1,500 lm on mellow flow, 2,500 lm for red-grade tech, and more if I insist on speed in steep rock—otherwise I simply slow down. In fog or dust, I drop output and keep the brighter light on the bar to cut back-scatter. For groups, I back off 2–3 bike lengths so I’m not riding in someone else’s shadow cone. And I treat batteries like water on a hot day: plan the route, dim on climbs, keep a warm spare, and never trust “2 hours on high” to actually be two hours.
This guide is what I wish I’d had before that first sketchy lap. We’ll cover light setup (beam patterns, lumen targets), battery strategy (cold-weather gotchas), group spacing and visibility, route choice for North America, wet/fog tactics, maintenance that matters (brakes/tires), and the skills cues that keep you relaxed—soft eyes, early braking, neutral-to-ready posture. If your trails allow after-dark access and you respect local wildlife and rules, night riding is the easiest way to double your trail time without changing your week.
Why ride at night—and when to skip it
Shorter fall evenings shouldn’t end your trail time. Night laps are quiet, cool, and feel brand-new—even on your local blue loop. Skip a ride during dense fog, heavy rain/ice, if batteries are suspect, or where after-dark access is prohibited.

The light setup that just works
Bar + helmet: depth + context
- Bar light paints the terrain and periphery;
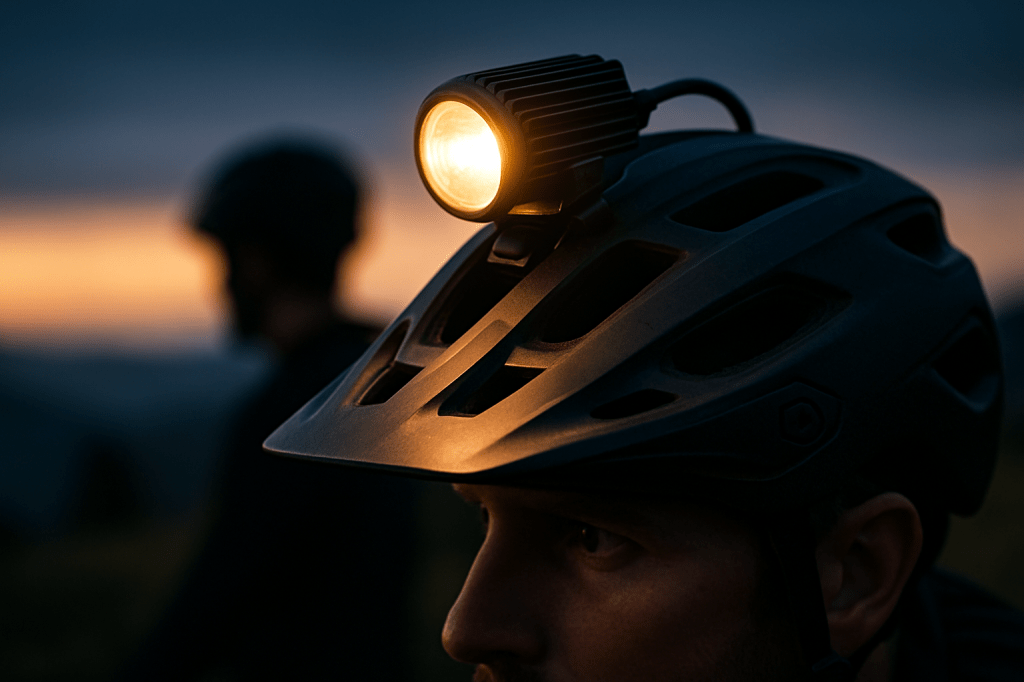
- Helmet light tracks your gaze through corners and across rock gardens. Together they restore depth perception you lose in the dark.
Lumen starting points (tune to speed/eyesight):
- Blue / flow: ~1,500 lm bar + 700–1,000 lm helmet
- Red / advanced: ~2,500 lm bar + 1,000–1,500 lm helmet
- Black / steep tech: ~3,500 lm bar + 1,500 lm helmet (or slow down)
Beam pattern > numbers: a broad, even beam beats a blinding hotspot. Slightly warmer tints can reveal texture better on dirt and wet rock.
Seamless Light gear :
- Bar light (2,000–3,000 lm): high-output MTB bar light
- Lightweight helmet light (700–1200 lm): helmet-mount MTB light
- Low-glare rear light for road links: steady rear bike light
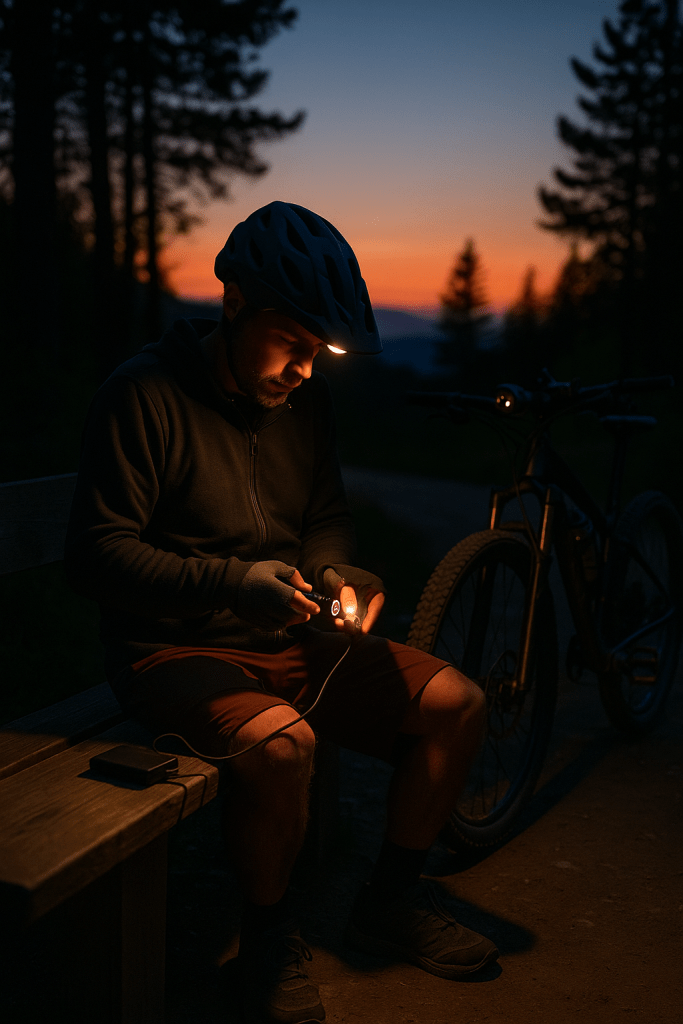
Battery life without drama
- Dim on climbs/roads, boost for tech descents—runtime skyrockets.
- Carry a spare (small head unit or battery pack) and keep it warm at stops.
- Cold saps capacity: store spares in a jersey pocket or inside your jacket.
- Runtime rule of thumb: if “2 h on high,” plan most riding in mid with “high” reserved for descents.
Recommended Accessories:
Short USB-C cable for on-bike packs: USB-C right-angle cable
USB-C power bank (20,000 mAh): rugged power bank
Group spacing & visibility (US/CA trails)
Riding on a friend’s wheel throws your line into their shadow cone. Back off 2–3 bike lengths so your beam works. On trail, use steady rear lights to protect others’ night vision; reserve flashing for road links only.
Route choice for North America
- Start on known blue loops; night hides features you rely on by day.
- Prefer well-drained trail centres early in the season; fewer surprises.
- In wildlife areas (cougar/bear country), ride in small groups and make noise near blind corners.
Fog, dust, rain: how to see more
Particles back-scatter bright, high-mounted beams into your eyes. Drop power, keep the brighter light on the bar, and use a warmer tint if possible. In dust trains, increase spacing and run the helmet light at medium to reduce glare.
Anchors:
- Clear/low-tint riding glasses: clear cycling glasses anti-fog
- Lightweight waterproof shell: cycling rain jacket packable
Safety checklist (copy/paste before every ride)
- Share your live location or route plan; set an ETA text.
- Tools: multi-tool, chain quick link, plugs + tubeless patch kit, tube, pump/CO₂.
- Minor first-aid + emergency foil blanket; small headlamp in pack.
- Charged phone; ID; small cash/card; snacks + warm layer.
Recommended Safety Supplies:
CO₂ inflator: bicycle co2 inflator kit
Tubeless plug kit: mtb tire plug kit
Emergency blanket: mylar emergency blanket

Maintenance that matters more at night
Brakes: clean rotors/pads with isopropyl alcohol only; avoid aerosols that can contaminate pads. If pads glaze or squeal, sand lightly, re-bed with a few 25–30 mph stops, and check rotor alignment. Bigger riders or steep zones often benefit from 200–220 mm rotors.
Anchors:
- 99% isopropyl + lint-free wipes: isopropyl alcohol 99 lint free wipes
- Rotor truing tool: disc brake rotor truing tool
Tires: drop 1–2 psi from your daytime baseline for traction, but beware rim strikes. If you regularly ding rims, evaluate tire inserts.
Anchors:
- Tubeless sealant: tubeless tire sealant 32 oz
- Insert install levers: heavy duty tire levers
Skills that keep you smooth in the dark
- Soft eyes: look through turns, not at the hot spot.
- Neutral-to-ready posture; light hands, heavy feet; elbows out.
- Brake zones: set speed early; avoid mid-corner grabs.
- Tech climbs: cadence focus; unweight over edges; trust the helmet beam to pick micro-lines.
FAQs
Do I really need two lights?
One strong bar light works, but bar + helmet restores depth and line-choice confidence on tech.
How many lumens do I need?
Plan ~1,500 lm (blue), 2,500 lm (red), 3,500+ lm (black) on bars, with a lighter helmet light; then tune to speed/eyesight.
Are flashing rear lights OK on singletrack?
Use steady on trail; flashing can blind riders behind you at night. Flashing only for road/transit sections.
What rotor size for heavier riders or steeper trails?
Consider 200–220 mm (front) for heat and power headroom; re-bed pads after changes.
What about fog?
Lower output, warmer beam if available, and keep the brightest light on the bar to reduce back-scatter.
Wrapping up the Night Ride
Night riding used to spook me—the tunnel vision, the shadows, the way familiar trails felt like strangers. What changed wasn’t buying the brightest thing on the internet; it was a simple system and a calmer head. Bar light for the big picture, lighter helmet light for where my eyes want to go, lumens matched to trail grade, and the humility to slow down when conditions call for it. Add a warm spare battery, steady (not flashing) rear light for the road bits, and 2–3 bike lengths of space so I’m not surfing someone else’s shadow cone, and suddenly the dark feels like a new season—not a compromise.
If you’re still on the fence, make your first night lap absurdly easy: a loop you know by heart, with a friend, and a plan to turn down output on climbs and save “high” for the fun parts. In fog or dust, lower the power and let the bar beam do the heavy lifting; you’ll see more than you think. Keep rotors clean, pressure a touch lower, and your brain will relax into the rhythm—soft eyes, early braking, neutral-to-ready posture.
I ride at night now because it gives me back the hours I lose to work and weather—and because the woods at dusk are gorgeous in a way daylight never quite is. If you pass me out there, I’ll be the one grinning with the steady red light, carving quiet switchbacks like it’s our own little after-hours world.

Leave a comment